Category: WordPress

  • Getting started with GST & WooCommerce

    Getting started with GST & WooCommerce

    GST was introduced on 1st July 2017 in India. With this, marketers/ shopkeepers/ businessmen are expected to generate GST receipts/ invoices for clients. With that, we have one of India’s biggest monetary reforms. One of the primary motives for this is that it eliminates the cascading tax impact, making the lives of businessmen and investors less complicated and one of the evaluations being that India wasn’t prepared (technically), yet, for this sort of huge change.

    Utilization of the WordPress+WooCommerce combo is at huge and loads of marketers use this aggregate for e-trade across the globe. With GST in India — at the time of writing this article, there’s no documented solution for GST implementation in WooCommerce. How will we understand?

    Now, like any other person using WordPress with WooCommerce, I looked for a solution in the form of a plugin. I did just that. After spending some time searching, I realized that there is no documented solution available at the moment. Outside of the WordPress context, there are a lot of other software’s, across various domains, some of them are yet to be updated to handle this in India. Surprisingly, my search for a solution for GST in WordPress availed no perfect results.

    Today, I will try to explain how to do the most basic setup for GST in India on WooCommerce in WordPress. Please note, that I’m stressing on basic. It may not cover all your expectations, but it will keep you in compliance with GST and you will not face losses because you couldn’t charge GST, at least. And yes, you do not need to install an additional plugin while using this solution. Also, there are more advanced, automated methods to do this, in case your needs are larger, or more complex, buts lets discuss that at the end of the post.

    This method of setting up GST in WooCommerce would help you if you’re one of these people:

    • Don’t wish to change the prices of all the products in their WooCommerce store to include GST.
    • Are looking for a quick-fix implementation of GST and IGST in their WooCommerce store.
    • Wish to just charge GST for Indian customers; but not customers abroad.

    Before we begin, here’s a glance at what we will achieve by the end of this article:

    1. GST/IGST will be calculated automatically during checkout
    2. GST/IGST will be shown on the invoice
    3. How to add GSTIN number to the invoice

    A lot of things are easier when explained using a scenario. So, let us take an example scenario:
    Let us assume, the client has a couple of brick-and-mortar apparel stores in Maharashtra spread across multiple cities and their e-commerce website has 200+ products.  They ship products pan-India. This brings GST (which is CGST+SGST) and IGST (Integrated GST) into the picture. The client also ships their products abroad.

    Let’s begin. Stepwise:

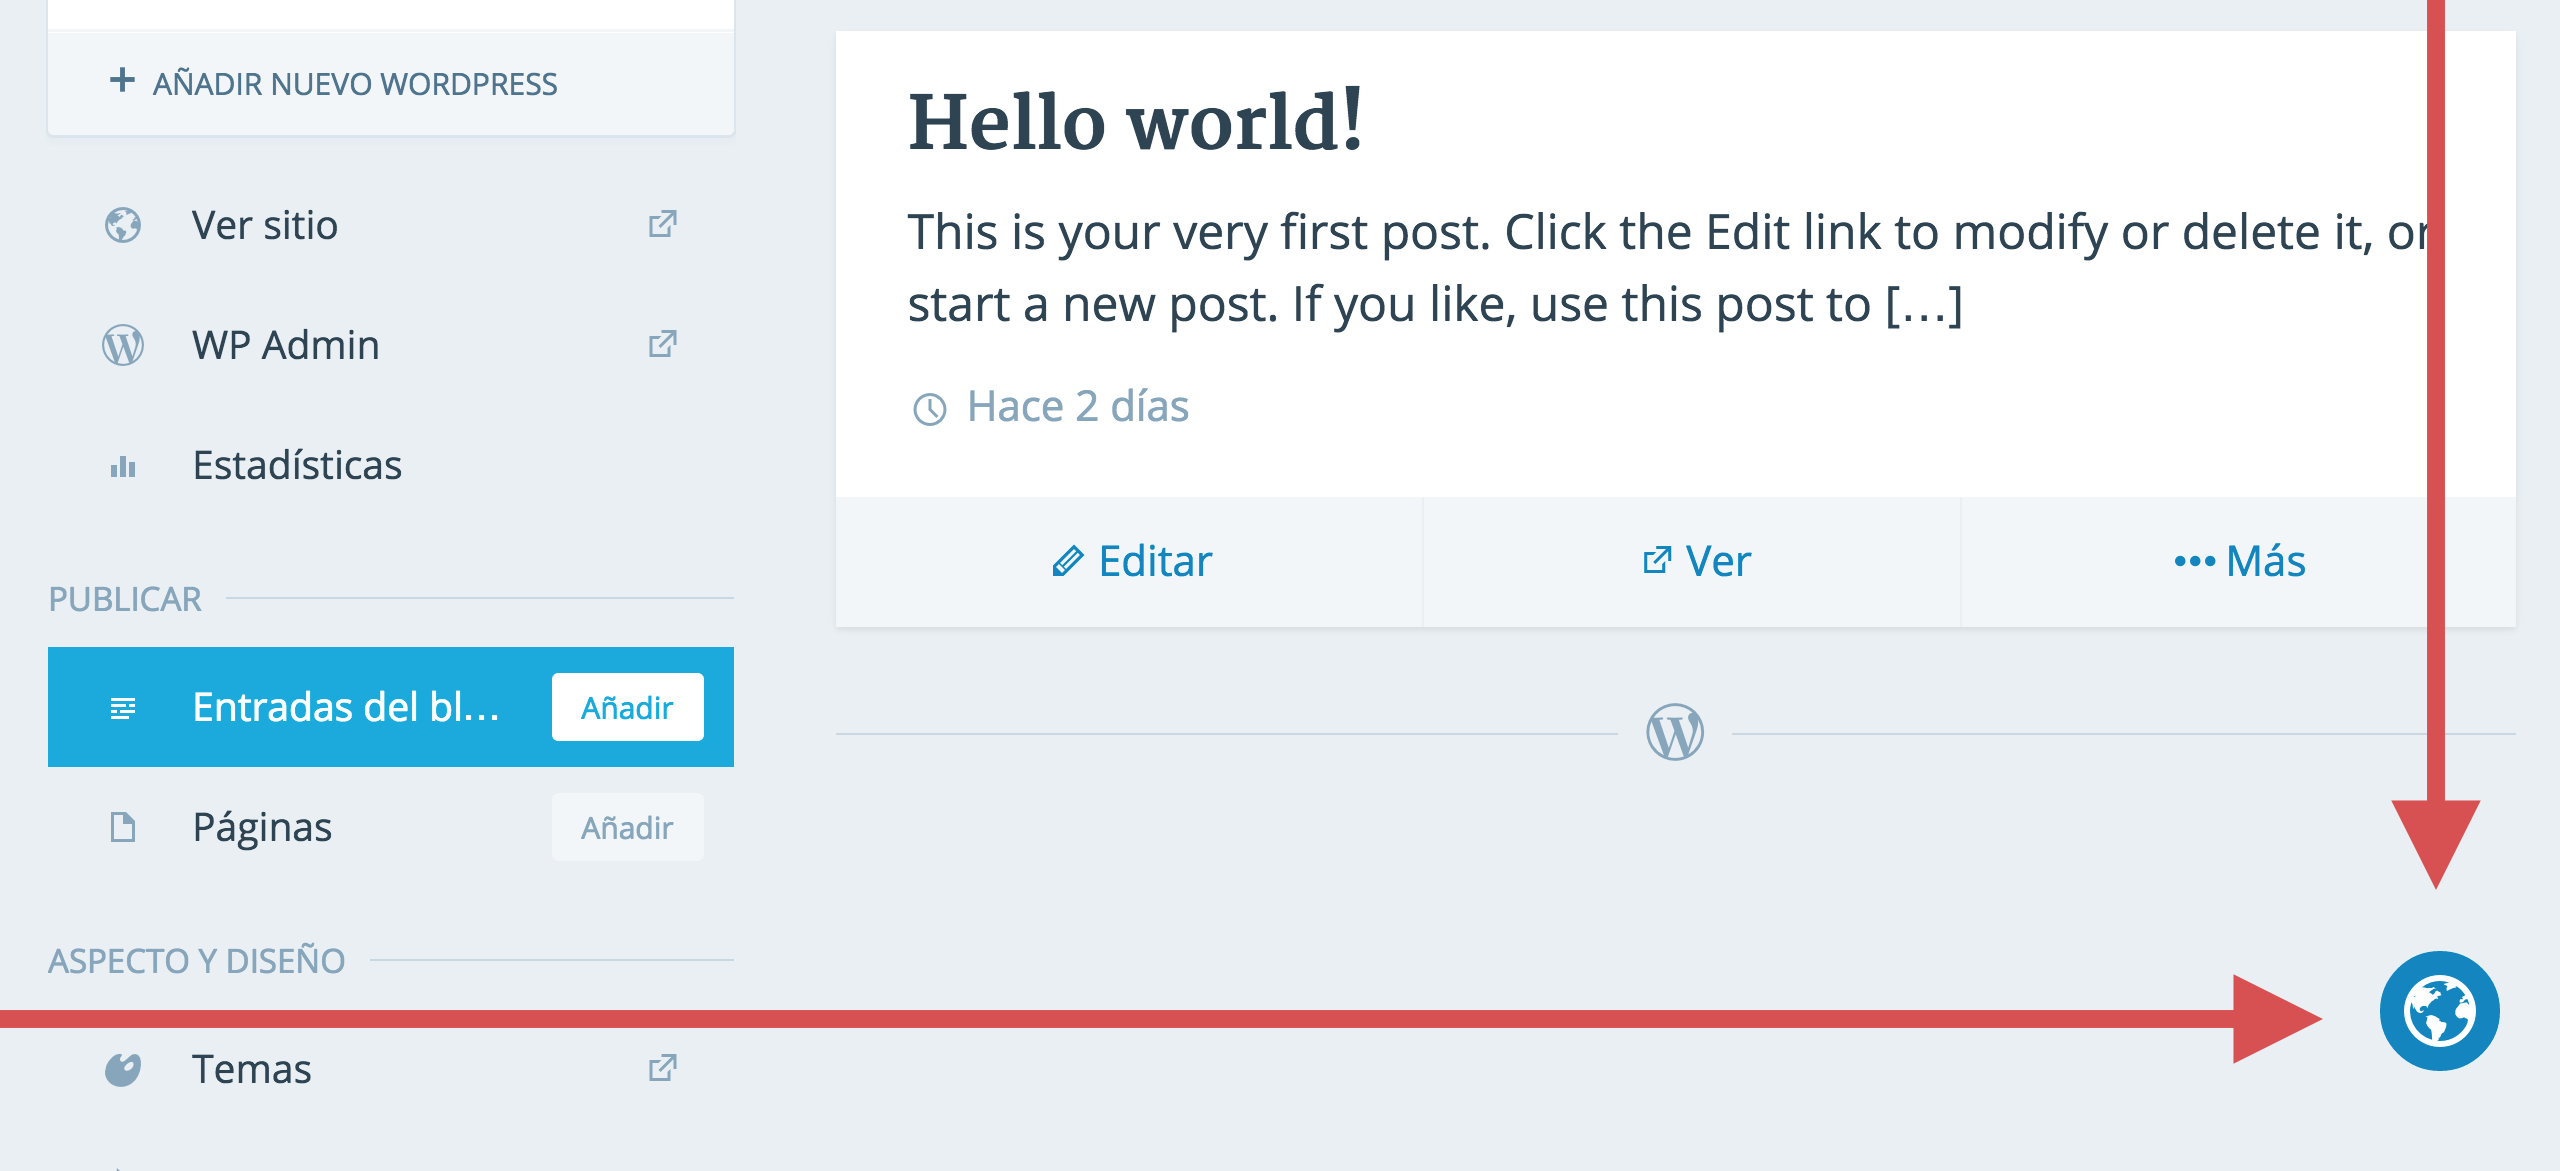
      1. Login to WordPress and head over to WooCommerce > Settings
        wordpress-gst-india-woocomerce-settings
      2. Visit the Tax tab in once you’re there. And set the following settings as shown in the image
        woocommerce-gst-india-tax-tab
        Here, if you wish to show prices inclusive of GST during checkout, select ‘Including Tax’ in the ‘Display Prices During Cart and Checkout’ option

      3. Now, head over to Standard Rates; link to which is right under the Tax tab
        standard-rate-woocommerce-tax
      4. Download this file (gst_woocommerce_tax_rates.csv) and upload it using the ‘Import CSV’ option. It contains all the state codes and the rates considering Maharashtra as the shop location for Apparels over Rs. 1,000 which is 12% for GST (CGST+SGST) and IGST; so, modify the CSV file accordingly and then upload. Considering the various possibilities, I’ll leave that to you.
        Please cross-check the tax rates yourself, to be sure, This is an import file I used from the internet, though most of it looks fine to me, the rates may vary. Once done, you’ll see that all the tax rates are imported.

        gst-tax-rates-imported-woocommerce.jpg

      5. Finally, you need to display your GSTIN number on your invoice.
        While the GST setup didn’t require a plugin in our GST setup guide, to display your GSTIN number on the invoices, you’re going to need to install a free plugin: WooCommerce PDF Invoices & Packing SlipsRemember, you need to uninstall any other PDF invoice generating plugin for this to work.Apart from helping you to add the GSTIN number to your invoice, it will also help you to generate, print and send PDF invoices and packing slips (and much more which can be read here) — which is great, isn’t it! Once you have installed the plugin, visit the plugin’s settings page and fill in all the necessary information.Next, simply follow the screenshots:
    1. Visit the Template tab in the settings. (You’ll find it under WooCommerce > PDF Invoices)

    add-gstin-woocommerce-1

    2. Scroll down, till you see the field with ‘Footer Terms & Condition etc’. In the text field, simply type ‘Our GSTIN is: ’

    add-gstin-woocommerce-2

    You’re set! 

    That’s all. Congrats, your e-commerce shop using WooCommerce in WordPress is set for GST in India. Well, a basic setup, but it’s got you covered for now. If you have multiple tax slabs applicable, continue reading.

    Depending on your template, your customers will see the results during checkout.

    If your products have multiple GST/IGST slabs applicable basis the price, follow these steps:

    The steps mentioned below are for clothing items, wherein if price >1000, 12% GST/IGST is applicable and if price < 1000, then 5% GST/IGST; you can adapt it to your rates. Click on the links to view the screenshots:

    1. Select the ‘Shipping tax class based on cart items’ option here:

    gst-1

    2. Then, define a new tax:

    gst-2

    3. Configure it:

    gst-3

    4. (If you have large no of products, go to point 5) Go to each product in your store, edit it and select the tax class:

    gst-4
    (if you have followed the article and done the setup for the Standard tax, select Standard for products with price > Rs. 1,000 and the new one for price < Rs. 1,000).

    5. Bonus tip: Here’s how you can expedite your tax class allocation in WooCommerce. Did you know that you can assign tax classes to your products in bulk? Simply use the bulk edit feature already available in WordPress and you’ll save a lot of time. Use filters at the top of the products view as needed to sort products and also sort by ascending/descending etc. See screenshots below:

    gst-woocommerce-bulk-tax-rate

    gst-bulk-tax-rate-woocommerce-wordpress

    Here are some screenshots from our example website:

    Case 1: Selected the State in Shipping Address as Tamil Nadu; IGST should get calculated.
    igst-igst-woocommerce

    Case 2: Selected the State in Shipping Address as Maharashtra (this is also the base location of the store); Thus, GST (CGST+SGST) should get calculated.
    gst-in-wordpress-woocommerce

    P.S: Neither I am a tax expert nor a lawyer, so please consider this as a set of steps to use when you know what tax rates are applicable to the products you are selling. This article can help you configure tax, not determine how much.

    Now, here is the bonus 🙂

    Avalara helps you automate all your indirect taxes, including GST (CGST+SGST). Obviously, its a paid service and should be worth taking a look if your needs are likewise.
    Here are some links you may find helpful in that context:

    Avalara announces trustfile GST support


    Header Image:
    StartupChoice.com

  • Installing Theme Unit Test Data with wp-cli

    Installing Theme Unit Test Data with wp-cli

    When building custom themes client sites it is important to test as many edge case as possible. Theme Unit Test Data is the way to go here and a minimum requirement for any professionally built WordPress theme (in my opinion anyway) If building a theme for the wordpress.org theme repository this will almost certainly be tested. For those using WP-CLI there is a quick and easy way to install and then remove this test data. Naturally, you will need to install and setup WP-CLI before proceeding.

    First you will want to backup your current database

    wp db export mydatabase.sql

    Then reset your WordPress installation. This step is not obligatory as you can import the test data on top of your own data. The --y flag stands for “yes” in response to the question “Are you sure you want to reset your database?” So make sure you have the old data backed up in case.

    wp db reset --yes

    Next you will want to import

     curl -O https://wpcom-themes.svn.automattic.com/demo/theme-unit-test-data.xml
    wp plugin install wordpress-importer --activate
    wp import ./theme-unit-test-data.xml --authors=create
    rm theme-unit-test-data.xml

    Here is where you will test you theme. Ideally you should go through and systematically check each of the links which have all sorts of edge cases. Correct any abnormalities and problems with layout. When you are finished you can change back to your old data.

    wp db reset --y
    wp db import mydatabase.sql


    Please note that you will have to provide the --url flag for some of those wp commands when using multisite. I am happy to answer any questions in the comments.

  • The state of WordPress in Indian languages

    The state of WordPress in Indian languages

    Not more than a year ago, thinking of having the entire WordPress dashboard in an Indian language looked like an ambitious dream. Today WordPress is available in Hindi, Marathi, Gujarati, and few more languages.

    I have been involved with Indian Polyglots team I am trying to summerize the journey so far, what have we achived and what imporvements we should be looking at.

    What I have observed is:

    1. Since the last World translation day, the Polyglots team has gain a lot of momentum.

    2. Local having local meetup for the translation hackathon worked exceptionally well.

    3. Not many contributers have increased after the initial bump.

    4. User testing hasn’t taken place for any language as far as I know. .

    5. No Indian language seems to have a complete and well defined glossary yet.

    6. For all the Indian languages, concentration had always been in the core project only, we collectively failed to realise that a local language experience cannot be delivered without atleast having the most popular themes and plugins translated.

    7. The adaptation rate for the languages have been poor. Usability seems to be the reason.

    Here is a user testing I had performed along with a friend {link}

    What are the reasons I am not using WordPress in my mother tongue yet?

    1. The translation are in a little too bookish language, it’s too formal, not the kind of Marathi we speak in general. This causes a discomfort using our own language when compared to English.

    2. Even if I decide to use the dashboard in Marathi, there are few plugins and themes that will maintain the language consistently without switching to English every once in a while… Very few themes are plugins have been translated so far.

    3. We might also have to consider that, the users who would typically want to use WordPress in these language arent the once who are involved with the Polyglots team yet. We collectively need to find ways to involve the target audiance.

  • Did you know you can translate WordPress.com without even leaving the page?

    Did you know you can translate WordPress.com without even leaving the page?

    Yes, I wish I knew about this long long time ago, this is just fantastic!

    You can help translate WordPress.com into your native language without leaving the page!

    Using the community translator built in WordPress.com

    Once the translator is enabled, right-click on a highlighted string to submit a new translation:

    • A red highlight means that a string does not have a translation in the current language.
    • yellow highlight indicates a new translation is awaiting validation.
    • green highlight indicates that a translation has been validated and is current, but you can still submit a new improved translation for that string.

    Enabling the Community Translator is incredibly simple

    To turn on the translator tool, go to the My Account page in your dashboard, select a non-English interface language and check the “Community Translator” option.

    in-page-translator-option

    When you go to any translatable page, you will see a globe icon on the bottom right.  Click on it to enable the translator.

    in-page-translator-globe

    Happy translating! Thank you so much for your help!

    Ohh, how much I wish we had something similar for self-hosted sites on WordPress.org, life would have been just simpler.

    Is there something similar available to be used on self-hosted WordPress? If now can be think of building something similar? Won’t it be incredibly awesome to have?using-the-community-translator2.jpg

  • Join Us Again for Global WordPress Translation Day

    Join Us Again for Global WordPress Translation Day

    The WordPress Polyglots team is organizing the second Global WordPress Translation Day on November 12th. Everyone is invited to join – from anywhere in the world!

    Translating is one of the easiest ways to get involved with WordPress and contribute to the project. Global WordPress Translation Day is your chance to learn more about translating WordPress, meet people from all over the world, and translate WordPress into one of more than 160 languages.

    Join us on November 12th from anywhere in the world

    The translation day starts on Saturday, November 12th, 2016, at 0:00 UTC and ends 24 hours later. See what time that is for you! You can join right from the start, or any time it’s convenient for you throughout the day.

    What are we doing?

    Local contributor days are happening all over the world, and are a great way to get involved. Check out this map to see if there’s already a local event happening near you. Can’t find one? Organize a local event!

    At the same time, join the community for 24 hours of live-streamed, remote sessions in numerous languages. Sessions will cover localization, internationalization, and contribute to your language.

    Who’s it for?

    Whether you’re new to translating and want to learn how to translate, or an experienced translation editor building a strong team, the translation day is for you. Developers will also enjoy topics from experienced contributors, whether you’re learning about internationalization and or want to find more translators for your themes and plugins. There’s a session for everyone!

    Get Involved

    Joining is easy! On November 12th, in your own timezone, translate WordPress or your favourite plugins and themes into your language, while watching live sessions over the course of the day.

    Want to get more involved? Sign up to organize a local event and invite your local community to translate together on November 12th. Events can be formal or completely informal – grab your laptop and a couple of friends, and head to a local coffee shop to translate for an hour or two.

    Can you get involved if you only speak English?

    Absolutely! Even if you only speak English, there are great sessions about internationalization that can benefit every developer. There are also lots of English variants that need your help! For example, English is spoken and written differently in Australia, Canada, New Zealand, South Africa, and the United Kingdom. You can learn about these differences and why these variants are important during the sessions.

    And if you’re feeling fun, try translating WordPress into emoji! Yep, we have a translation of WordPress in emoji! 🙂 😛

    Questions?

    If you have any questions, the polyglots team and the event organizers hang out in #polyglots in Slack and are happy to help! (Get an invite to Slack at chat.wordpress.org.)

    Sign up to take part in the event on the official website.
    WordPress News

  • My first contribution to WordPress core; and how you can do the same.

    My first contribution to WordPress core; and how you can do the same.

    WordPress 4.6 was released just a few days ago. There were a lot of contributors that helped make WordPress 4.6 a reality. I’m proud to say that I was one of them. I never thought I’d be able to make the list but thanks to some help, I was able to contribute in my own way. The following is my experience contributing to WordPress.

    During the development of WordPress 4.6, I used the WordPress Beta Testing plugin to keep up with changes on my local server. While I was not able to find a bug, I kept looking on trac and came across a ticket which was concentrating on the user interface, and was really easy to fix, you can see it for yourself

    Is changing text really a contribution?

    When I bumped on the ticket, I thought about whether just changing text would classify as a contribution. It was a small change that involved changing label for a button. and then I came across a blog post by Jeff Chanfler on WP Travern, This article talks about the experience Jeff had when he made his first core contribution. And surprising enough it was a typo which he reported and gave a patch for.

    What he talked about in the blog post was interesting, I learnt that people have contributed to WordPress simply by removing whitespace from or adding underscores to code. No contribution is small when it comes to WordPress. So don’t worry what contribution you do, however, small is that, take pride in the contribution you have done.

    Getting My Patch Into Core

    After knowing about the bug, I just installed the trunk to a local VVV install, took a fresh pull again to be sure. Made the changes required, and prepared a patch.

    Don’t worry, creating a patch is super easy, especially if you are using one of the Linux distro or any UNIX-based computer. It needs some installations to be done on Windows, though. You can read more about it here, OR keep reading below.

    Creating a Patch/Diff file

    Setting up the Development Site
    There are various ways you can setup a development environment; the best and the most comfortable I found to work with is Vagrant VVV by 10up.
    All you need to do it create a directory with the name you wish it to be called, git clone the VVV project in the directory, then navigate to the directory using your terminal and type “vagrant up”. If you need to know about Vagrant VVV in detail you can visit their GitHub page with explains it thoroughly. After vagrant up, you get set of sites ready to go,
    http://local.wordpress.dev/ for WordPress stable
    http://local.wordpress-trunk.dev/ for WordPress trunk
    http://src.wordpress-develop.dev/ for trunk WordPress development files
    http://build.wordpress-develop.dev/ for the version of those development files built with Grunt
    http://vvv.dev/ for a default dashboard containing several useful tools

    What we are interested in here is the trunk, so we get the latest version of the build for WordPress core. (I generally do a vagrant provision one again just to be sure I am on the latest build).

    Once that is done, you can either test it for bugs or perform unit testing for the patch submitted

    After you are ready with your development environment, go forward and make the changes you need to, test it until you get the perfect results. Refer the bug report for expected results.

    After you get the expected result, Create a patch as described here.  On Linux you can simply do;

    svn diff filename.php > filename.diff
    svn diff > big_patch.diff
    patch -p0 < patch.diff

    If you are using git instead of svn, you may want to refer this.

    Upload the patch file on the wordpress.org core trac . Change the status to has patch.

    After you do this, other friendly people on the trac will review your patch.

    WordPress Needs Core Contributor Mentors

    WordPress would benefit from having a list of people that act as mentors for those contributing to WordPress for the first time via Trac. Drupal has gone through great lengths to make core contributing mentorship a priority. They have an entire site dedicated to mentoring new contributors. Even if it were not as organized as Drupal, I’d like to see a list of mentors I could get in touch with to walk me through the process of patching a bug or fixing a typo in core.

    Contributing Was Awesome

    Despite it only being a typo, contributing to the core of WordPress was exhilarating. Special thanks to Saurabh Shukla for answering a lot of question I had when creating the patch. The last thing I want to do on Trac makes the core WordPress developers job harder by improperly making tickets. Instead of screwing up, it’s better to not mess with Trac at all. At least that’s the way I’ve approached it.

    While there is a handbook devoted entirely to contributing to WordPress, it’s not the same as being guided through the process with an experienced individual. Thankfully, most of the WordPress community is approachable and getting help is as easy as a tweet, or Slack, or emailing someone.

    At the end of the day, I contributed to WordPress and you can too.

  • Child Themes with wp_enqueue_style()

    Child Themes with wp_enqueue_style()

    Using Child Themes in WordPress is a great way to modify an existing theme, however, the CSS @import directive is slower than it has to be, so you should try and avoid it. Here’s why.

    If it takes 200ms to load the child theme’s stylesheet, and 200ms to load the parent-theme’s CSS, a modern web browser should take approximately 200ms to load both of them, because modern browsers load assets in parallel.

    Unfortunately, this is not true for CSS.@import Let me quote Google:

    The browser must download, parse, and execute first.css before it is able to discover that it needs to download second.css.

    Which means that instead of 200ms, with it @import’ll take the web browser approximately 400ms to load both style sheets. Here’s a typical child theme’s CSS:

    /*
     Theme Name:   My Child Theme
     Theme URI:    http://example.com/child-theme/
     Description:  Child Theme
     Author:       John Doe
     Author URI:   http://example.com
     Template:     parent-theme
     Version:      1.0.0
     License:      GNU General Public License v2 or later
     License URI:  http://www.gnu.org/licenses/gpl-2.0.html
    */
    
    @import url(../parent-theme/style.css);  
    
    /* My Child Theme CSS */
    

    We can drop the @import statement, and make good use of functions.php and the wp_enqueue_style() function:

    <?php // Opening PHP tag - nothing should be before this, not even whitespace
    // Faster than @import 
    add_action( 'wp_enqueue_scripts', 'my_child_theme_scripts' ); 
    function my_child_theme_scripts() {     
    wp_enqueue_style( 'parent-theme-css', get_template_directory_uri() . '/style.css' ); 
    }
    

    And we don’t need to re-declare dependencies because the child theme’s functions.php is loaded before the parent theme’s. Unless, of course, the parent theme uses a different action priority, in which case we should just match it.

    That’s +1 to the PageSpeed score 🙂

    Going even further, since we are already using function.php can put as many or as few functions as you wish.
    Here are some simple yet interesting things you can do with adding few lines to code to your function.php file;

    Adds a favicon link to the head element of HTML pages.

    // Custom Function to Include favicon
    function favicon_link() {
        echo '<link rel="shortcut icon" type="image/x-icon" href="/favicon.ico" />' . "n";
    }
    add_action( 'wp_head', 'favicon_link' );

    Hope this helps.

  • WordPress 4.4.1 Security and Maintenance Release

    WordPress 4.4.1 Security and Maintenance Release

    WordPress 4.4.1 is now available. This is a security release for all previous versions and we strongly encourage you to update your sites immediately.

    WordPress versions 4.4 and earlier are affected by a cross-site scripting vulnerability that could allow a site to be compromised. This was reported by Crtc4L.

    There were also several non-security bug fixes:

    • Emoji support has been updated to include all of the latest emoji characters, including the new diverse emoji! 😛 🙂 😮
    • Some sites with older versions of OpenSSL installed were unable to communicate with other services provided through some plugins.
    • If a post URL was ever re-used, the site could redirect to the wrong post.

    WordPress 4.4.1 fixes 52 bugs from 4.4. For more information, see the release notes or consult the list of changes.

    Download WordPress 4.4.1 or venture over to Dashboard → Updates and simply click “Update Now.” Sites that support automatic background updates are already beginning to update to WordPress 4.4.1.

    Thanks to everyone who contributed to 4.4.1:

    Aaron D. Campbell, Aaron Jorbin, Andrea Fercia, Andrew Nacin, Andrew Ozz, Boone Gorges, Compute, Daniel Jalkut (Red Sweater), Danny van Kooten, Dion Hulse, Dominik Schilling (ocean90), Dossy Shiobara, Evan Herman, Gary Pendergast, gblsm, Hinaloe, Ignacio Cruz Moreno, jadpm, Jeff Pye Brook, Joe McGill, John Blackbourn, jpr, Konstantin Obenland, KrissieV, Marin Atanasov, Matthew Ell, Meitar, Pascal Birchler, Peter Wilson, Roger Chen, Ryan McCue, Sal Ferrarello, Scott Taylor, scottbrownconsulting, Sergey Biryukov, Shinichi Nishikawa, smerriman, Stephen Edgar, Stephen Harris, tharsheblows, voldemortensen, and webaware.

  • All-in-One WordPress migration

    All-in-One WordPress migration

    With the All-in-One WP Migration plugin from developers So Ilieva, Borislav Angelov and Pim Jitsawang it is possible to export the WordPress database, media files, plugins and themes. One can indefinitely in the database use Find and Replace operations in the database to perform, for example, when moving relative paths.

    The plugin comes with 32MB of memory. The plugin takes over the archiving of files with the help of 2048 byte chunks, the editor for database search / replace only accesses segments of 1MB to. So you’re protected from Speicherprobeme.

    Other features include: support for MySQL, PDO and MySQLi, support for Zip Archive and Pcl Zip.

  • How to do Search and Replace in WordPress with a Plugin

    How to do Search and Replace in WordPress with a Plugin

    Are you looking to do search and replace in WordPress? Recently, one of my friends asked us how to run search and replace on WordPress database without writing any SQL code or using phpMyAdmin. Many beginners are not comfortable with code, so that’s why we found a search and replace plugin for WordPress. In this article, I will try to show you how to do search and replace in WordPress.

    images


    Getting Started

    It is extremely important that you create a complete WordPress backup before making any changes to your WordPress database.

    Make this best practice a habit, things can go wrong anytime when you are making direct changes to the WordPress database. If you have a backup, then you can easily restore your WordPress site without losing anything.

    Installing and Using Better Search and Replace for WordPress

    First thing you need to do is install and activate the Better Search Replace plugin. Upon activation, you need to visit Tools » Better Search Replace page to use the plugin.

    better-search-replace-screenshot

    Simply add the text string you want to search for and then add the replace text.

    After that, you need to select the tables you want to look into. For example, if you want to search and replace some text in your posts then you may want to select the posts table. You can also select multiple tables if you want.

    Learn more about WordPress database management and what each table does in WordPress.

    The plugin can run a case-sensitive search and replace. It can also perform a dry run which allows you to see how many cells are affected by your search without actually replacing the text.

    When you are satisfied, click on run search/replace button. If you did not check the dry run option, then the plugin will now run a search and replace on your WordPress database.

    Troubleshooting

    You may see the white screen or run into timeouts while performing a search and replace. Simply click on the settings tab on the plugin page.


    You will notice the max page size option. Try decreasing the page size to avoid timeouts and white screen.

    That’s all, we hope this article helped you find a better search and replace plugin for WordPress database. You may also want to see our tutorial on how to clean up your WordPress database for improved performance.